Photographing hats and caps can be a thrilling experience. You not only get to be more creative but can use different formations of the product and make it look stunning. It is important to remember that when you are clicking a picture of a hat, your main focus should be the hat and not anything else.
There are a variety of caps, right from baseball caps, swimming caps, casual caps and a lot more to mention. Each and every cap will require a different way of being clicked. It is up to the photographer to put the hat to the best use, and bring out the finest picture possible. Following are some tips for hat/cap photography.
Points to be followed for Hat/Cap Photography
- Preparing your hat – A hat is like any other item that needs to be kept ready before being clicked. You need to ensure that the hat is clean, does not have any scar or mark that is easily visible. Ironing a hat that has a brim is also a good idea. See if you need to hide some fabric or a price tag so that they don’t look odd in the picture.
- Choosing a mannequin – A mannequin head works out cheaper as compared to a full size mannequin. They are made out of foam that ensures the hat fits properly. Also, using just a head mannequin will help you work only on the hat instead of focusing on anything else. You can place the hat as per your creativity and make it look attractive.
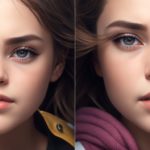
- Choosing a model – If you don’t have a tight budget and are willing to spend on a model, you need to ensure that only the hat stands out. It is therefore advised that the model’s clothing should be simple, thus balancing the hat’s look with the dress. Creating a realistic look and focusing only on the hat would suffice.
- Using invisible mannequin – If you feel that the mannequin is coming too much in the way of your hat, you can click photos using the same mannequin and edit it later in Photoshop. You can use the invisible mannequin or the ghost mannequin feature and edit the picture in a way that makes only the hat visible.
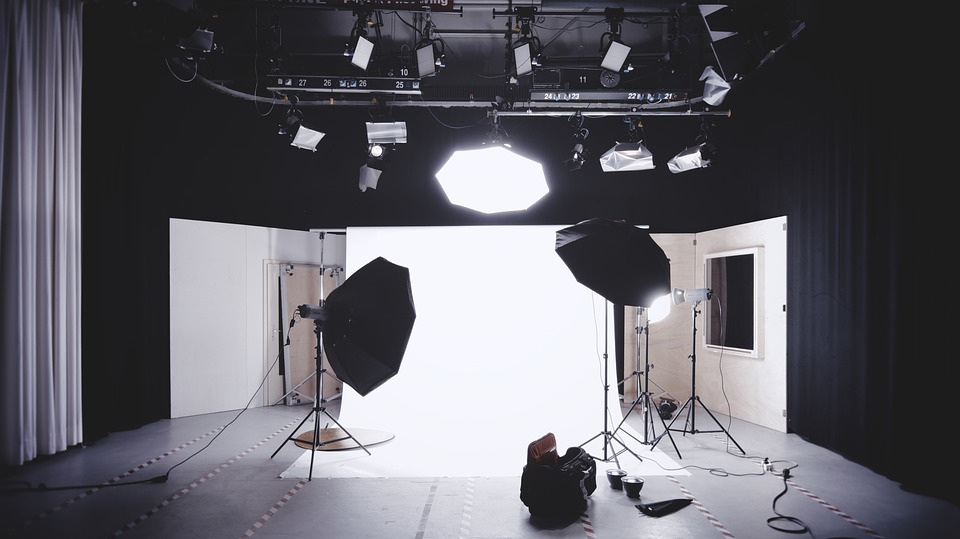
- Lighting and shadows – Taking care of lighting and shadows forms the basis of any photography. In case of hat photography, ensure that the light does not put a shadow on the eyes. Light source should be on the left of the hat, in the front of the mannequin so that it lights up the front part, along with the side.
- Using props – While using props, you need to ensure that your main focus is not lost. They have to be simple at the same time to complement the hat. You can use a pin-board and hang your cap for display. You can use a coat rack and place the hat on it, thus giving it a trendy look.
If you are trying to get that special look, you need to remember that whatever looks good to the eyes always works. You can try different looks and angles while clicking pictures. It is then easy for you to choose the best ones from the ones clicked and put them live on your website. There might not be many books on hat photography as it is all about being creative. After complication of photo shoot you should hire an experienced retouching agency.
At the end of your shoot, you need to have pictures that look consistent and flawless. You can then work during post production and get the picture edited for a perfect look. There is not much you can do with hat photography, but you can definitely use the hat in the most creative way possible.