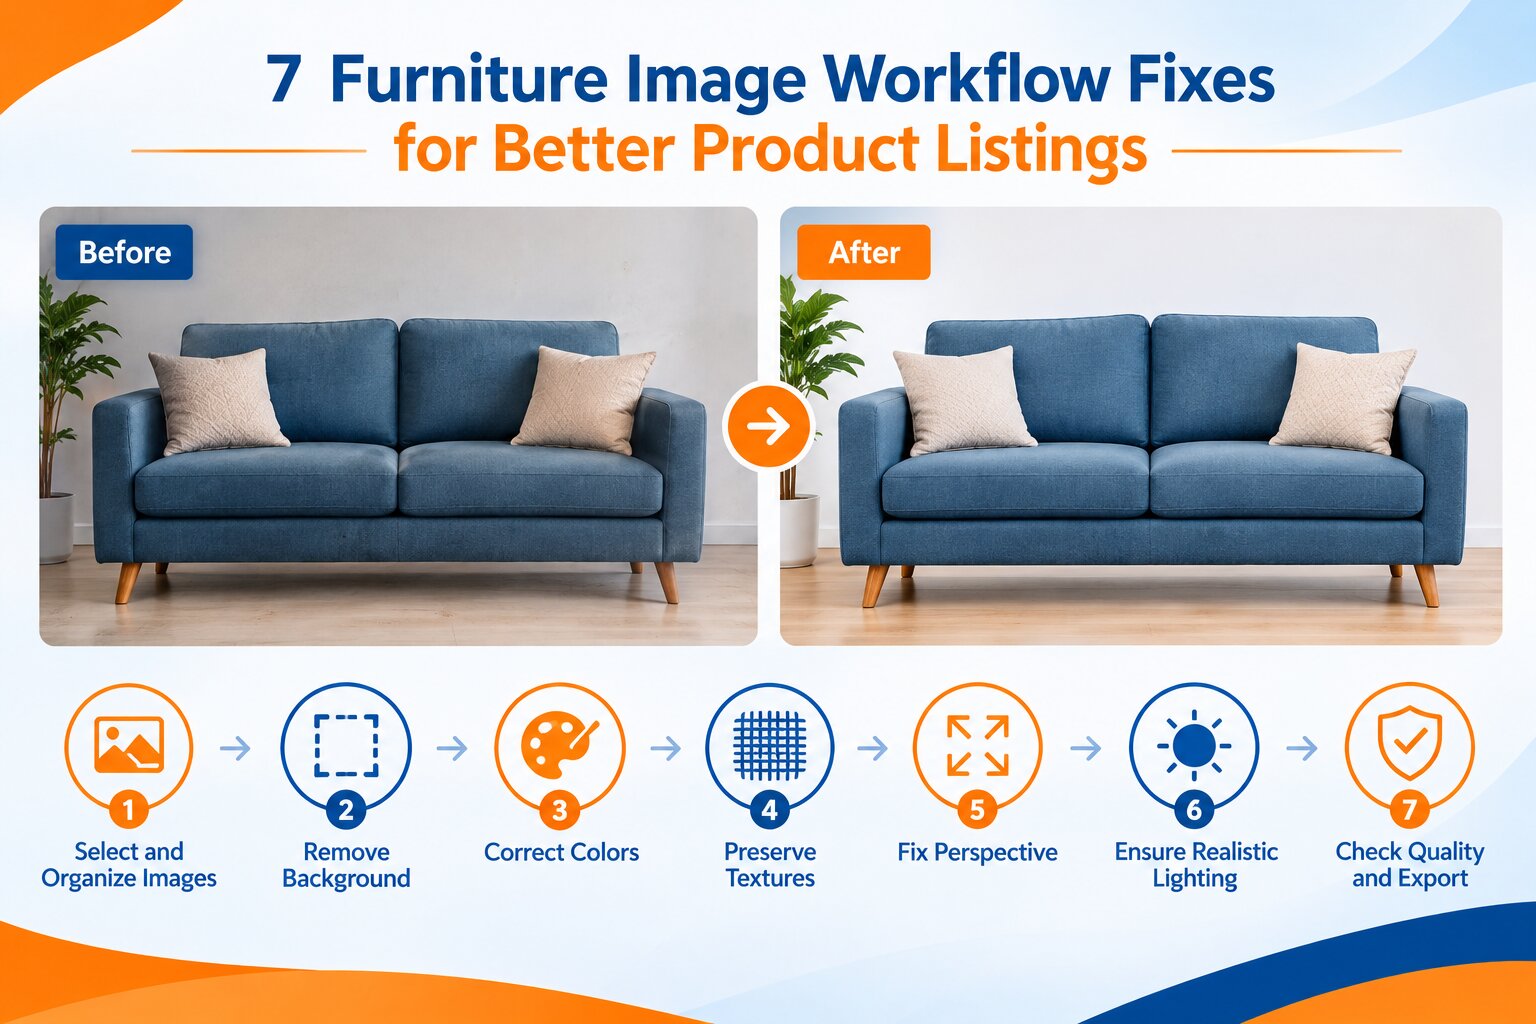
7 Furniture Image Workflow Fixes for Better Product Listings
Ansu Man | Nov. 4, 2026 | Categories: E-commerce | 0 comments
Furniture photography is more demanding than it might appear. A sofa may have several fabric options, a dining table may feature a distinctive wood grain, and a cabinet may combine matte panels with reflective metal handles. Each detail influences how customers perceive the product. Yet lighting differences, incorrect colors, distorted proportions, and inconsistent backgrounds can make an otherwise good furniture photograph look misleading.
For furniture manufacturers, retailers, and e-commerce businesses, the challenge becomes even greater when hundreds of products and multiple color variations need to be processed. A structured furniture image processing workflow helps control these inconsistencies. Professional photo retouching plays an important role, particularly when product accuracy and catalog-wide consistency matter.
1. Standardize Image Selection and Organization
Furniture catalogs often contain several photographs of the same product, captured from different angles or during separate studio sessions. Without a clear selection process, editing teams can waste time processing duplicate images or working with unsuitable source files.
How to fix it
Organize photographs using SKU numbers, product categories, material types, and viewing angles. Keep front, side, rear, and three-quarter views together. Separate detail photographs showing upholstery, wood grain, stitching, and hardware.
Retain original RAW files and create a reference image for each product variation. This gives retouchers a reliable visual reference when correcting color and preparing different catalog versions.
2. Remove Backgrounds Without Damaging Product Edges
Background removal is a common requirement for furniture retailers selling across multiple marketplaces. However, furniture presents some difficult edges. Thin chair legs, curved armrests, glass tabletops, woven backs, and intricate metal frames can easily develop halos or missing sections during automated background removal.
How to fix it
Start by creating an accurate selection around the complete product silhouette. Refine difficult areas manually, paying particular attention to narrow gaps between chair legs, transparent surfaces, and reflective edges. Remove unwanted background elements without cutting into the furniture itself.
After isolation, inspect the product against its intended background. A clean white background may suit a marketplace listing, while a neutral grey background can work for certain branded catalogs. Preserve natural contact shadows so the furniture doesn't appear to float.
3. Maintain Accurate Furniture Colors and Finishes
Color inconsistency can create confusion when customers compare furniture photographs with the physical products. A walnut finish might appear too reddish, cream upholstery might look yellow, or a charcoal fabric might turn bluish because of incorrect white balance.
How to fix it
Use a neutral reference during photography and establish a consistent white balance before applying creative adjustments. Compare the edited photograph with an approved physical sample whenever possible.
Color correction should account for different materials. Wood grain, leather, velvet, linen, and powder-coated metal all respond differently to light. Avoid increasing saturation simply to make a product more attractive. The final image should represent the actual finish as closely as possible.
4. Preserve Fabric Texture and Surface Details
One problem I often see in furniture image editing is excessive smoothing. Upholstery starts looking plastic, wood grain loses its natural variation, and small construction details disappear. This is particularly problematic for premium furniture, where material quality is an important selling point.
How to fix it
Use selective retouching rather than applying heavy smoothing across the entire product. Remove dust, loose fibers, temporary marks, and minor photography defects while preserving genuine stitching, seams, grain patterns, and fabric weave.
Pay special attention to close-up photographs. Customers often use these images to judge upholstery quality, surface finish, and craftsmanship. Over-retouching can remove precisely the details they're trying to inspect.
5. Correct Perspective and Maintain Natural Proportions
Wide-angle photography can make furniture appear wider, taller, or more distorted than it actually is. Camera tilt can also cause table legs, cabinet edges, and vertical panels to lean. These problems become particularly noticeable in photographs of large furniture pieces.
How to fix it
Apply lens distortion correction before making perspective adjustments. Straighten vertical and horizontal references while checking that the product retains its original proportions. Avoid stretching individual sections to make furniture fit a particular canvas.
For catalog consistency, use similar camera angles and framing across comparable products. A chair photographed from a three-quarter angle should have a consistent presentation with other chairs in the same collection.
6. Create Realistic Shadows and Consistent Lighting
Removing a background can also remove the natural shadows that give furniture its visual weight. Without them, chairs, tables, and sofas can look artificially pasted onto the background. Inconsistent shadow direction across a product catalog creates another noticeable problem.
How to fix it
Retain suitable original shadows whenever possible. If they need rebuilding, create soft contact shadows beneath the legs, bases, and other points where the furniture meets the floor. Match their direction to the existing light source.
Also check highlights on polished wood, glass, leather, and metal surfaces. These reflections help communicate material characteristics, so removing all of them can make the product look unnatural.
7. Standardize Quality Checks and Final Exports
When a catalog contains hundreds of furniture images, small editing differences can become difficult to spot. One product might appear larger in the frame, another may have a slightly warmer background, and a third might have excessive sharpening around its edges.
How to fix it
Establish quality standards for background color, product positioning, canvas dimensions, shadow treatment, and image resolution. Review similar products together rather than approving each photograph in isolation.
Use a two-stage quality check. The first review focuses on individual image defects, including damaged edges, color shifts, and retouching artifacts. The second checks consistency across the complete product collection.
Finally, prepare separate export settings for marketplace listings, websites, and print catalogs. Use the required dimensions, appropriate JPEG compression, and sRGB color space for typical web delivery. Maintain organized filenames using SKU, color, and viewing angle.
Build a More Consistent Furniture Image Workflow
A good furniture image processing workflow isn't simply about removing backgrounds or making photographs brighter. It requires careful attention to product proportions, material details, realistic lighting, and color accuracy. These elements help customers understand what they're actually buying.
For furniture manufacturers, online retailers, and catalog management companies, professional retouching can also reduce the workload associated with processing large product collections. An experienced editing partner can handle repetitive corrections while maintaining the visual standards established for your brand.
Looking for Professional Furniture Photo Retouching?
PicsRetouch helps furniture retailers, manufacturers, and e-commerce businesses prepare consistent product images for online catalogs. Our services include background removal, color correction, perspective adjustments, shadow refinement, and detailed product retouching.
Whether you're processing a new furniture collection or updating an existing catalog, share a few sample images with our team. Request a free sample edit to evaluate our quality and discuss a workflow that fits your production requirements.