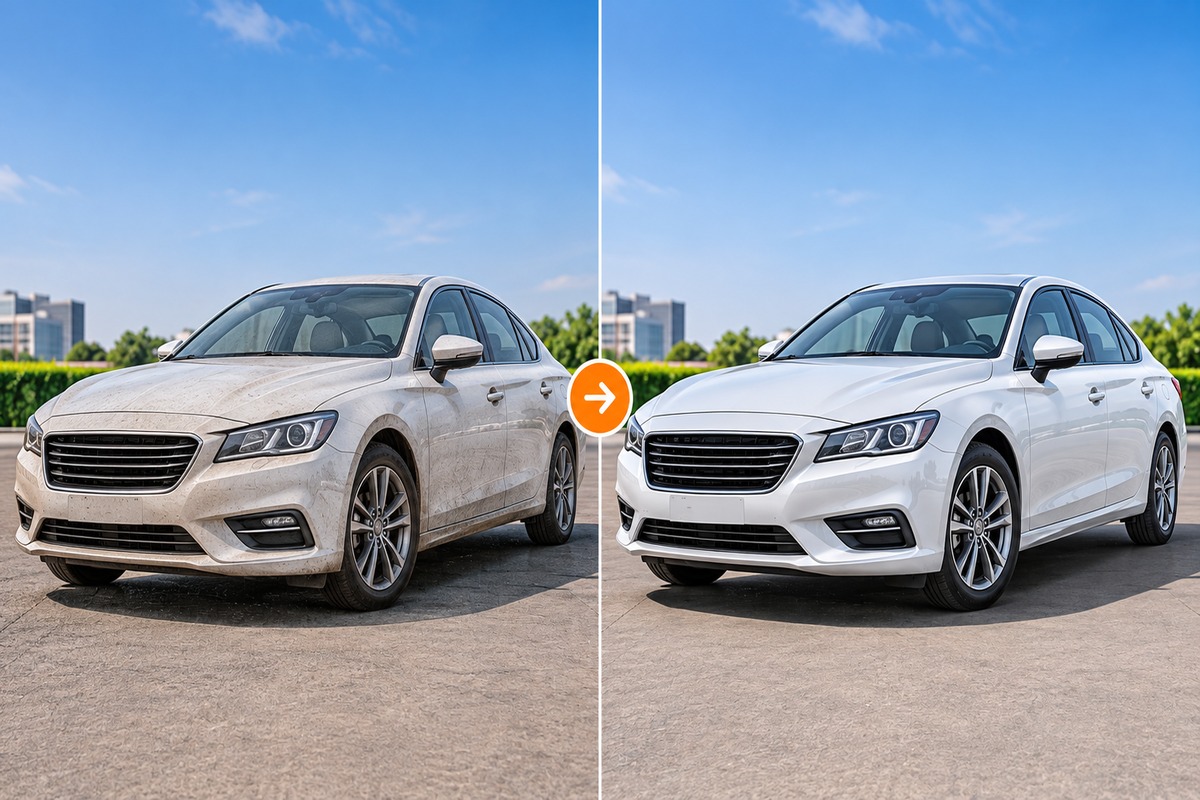
Automotive Image Processing Workflow for Better Listings
Ansu Man | Nov. 11, 2026 | Categories: Retouching | 0 comments
Automotive photography has a particular challenge: the vehicle itself is often the most difficult part to edit. Glossy paint reflects nearby buildings, photographers, other vehicles, and even the sky. Chrome trim catches harsh highlights, glass reveals unwanted surroundings, and dark interiors can lose important details. A photograph may look perfectly acceptable on a camera screen but feel inconsistent when placed alongside dozens of other vehicle listings.
For car dealerships, vehicle resellers, rental companies, and automotive marketplaces, this creates a recurring production problem. Images need to be processed quickly, but they must also represent the actual vehicle accurately. A structured automotive image processing workflow helps balance these requirements while making inventory galleries look more professional.
1. Organize and Select Vehicle Photographs
Editing should start with a properly organized image set. Dealerships often photograph multiple vehicles in a single session, sometimes using different cameras or photographers. Without a consistent selection process, duplicate angles and poorly exposed photographs can easily enter the final listing.
Organize images using stock numbers or vehicle identification records. Group exterior views, interior photographs, wheel details, dashboard images, and engine-bay photographs separately. Remove duplicate frames and reject images with motion blur, missed focus, or obstructed views.
Keep the original files available throughout production. They provide a reference when checking paint color, vehicle condition, trim details, and other information that must remain accurate.
2. Clean or Replace Distracting Backgrounds
A crowded dealership lot isn't always the best setting for a vehicle listing. Other cars, signboards, cables, bins, buildings, and passing people can compete with the vehicle for attention. When these distractions appear differently in every photograph, the inventory gallery loses its visual consistency.
Background removal or replacement can solve much of this problem. However, vehicles have complicated outlines. Side mirrors, aerials, wheel spokes, window openings, and narrow gaps between body panels require careful masking.
After isolating the vehicle, place it against an appropriate neutral background. Pay attention to the view through windows and glass surfaces, which may still reveal the original surroundings. Rebuild the background carefully and retain realistic ground shadows. Otherwise, the vehicle can look like it's floating rather than sitting naturally on a surface.
3. Correct Paint Colors and Exposure
Automotive paint is particularly sensitive to lighting conditions. A metallic silver car can appear blue under a cool sky, while a white vehicle may develop yellow or grey patches under mixed lighting. Overexposure can also remove details from bright body panels, making the vehicle look flat.
Start with white balance and overall exposure correction. Recover highlight detail where the original image permits it, and open dark areas around wheel arches, tires, and lower body panels. Use selective color adjustments to correct unwanted casts without changing the actual paint shade.
Metallic and pearlescent finishes need extra care because their appearance changes with viewing angle and reflected light. Avoid applying uniform saturation or brightness adjustments across the entire vehicle. The aim is to make the original finish easier to evaluate, not give the car a different appearance.
4. Refine Reflections Without Removing Natural Body Definition
Reflections are one of the most time-consuming parts of automotive retouching. A glossy bonnet might reflect a photographer, nearby vehicles, overhead cables, or an untidy building. These distractions can make the photograph look less polished.
However, removing every reflection isn't the answer. Reflections help communicate the shape and curvature of the vehicle. Without them, a polished body panel can appear unnaturally flat.
Use selective retouching to reduce distracting reflections while preserving highlights that define the bonnet, doors, roofline, and wheel arches. Chrome trim, glass edges, and polished alloy wheels also need careful treatment. Check the edited areas at full resolution to catch repeated textures, uneven transitions, and artificial-looking surfaces.
5. Maintain Consistent Perspective and Framing
Buyers often compare several vehicles before making a decision. If one car fills most of the frame while another appears much smaller, the difference can make the dealership's inventory look poorly organized.
Straighten tilted horizons and correct lens distortion where necessary. Standardize the crop, vehicle placement, and viewing angle across comparable photographs. Keep enough space around the vehicle so that bumpers, mirrors, wheels, and other important features aren't accidentally cropped.
Be particularly careful with wide-angle photographs. Aggressive perspective correction can stretch body panels or distort wheel proportions. The vehicle should retain its original shape and dimensions.
6. Preserve Actual Vehicle Condition and Important Details
Automotive retouching should improve presentation without hiding information a buyer needs. This is especially important for used vehicles, where photographs help communicate their actual condition before an inspection.
Dust, temporary background clutter, and unwanted objects can be removed. However, dents, scratches, chipped paint, worn tires, cracked lights, rust, and interior damage should remain visible. Registration plates can be masked consistently where required for privacy or listing policies.
Give interior photographs the same attention as exterior images. Correct exposure around dark seats and dashboard areas, reduce distracting glare on screens, and retain visible details in upholstery, controls, and instrument panels. These photographs help buyers evaluate more than just the vehicle's exterior appearance.
7. Apply Quality Checks Before Export and Delivery
A consistent editing standard matters most when the complete inventory is viewed together. One photograph might have a warmer color temperature, another may contain a poorly reconstructed shadow, and a third might have visible masking artifacts around the mirrors.
Review individual photographs for edge defects, color accuracy, unwanted reflections, and incorrect crops. Then compare the complete vehicle gallery to ensure that the backgrounds, framing, and exposure follow the same visual standard.
Prepare export settings according to the requirements of the receiving website or marketplace. Check image dimensions, JPEG compression, sRGB color space for typical web listings, and filenames linked to the correct stock number. Finally, verify that every photograph belongs to the correct vehicle before publication.
Build a More Reliable Automotive Image Processing Workflow
Automotive image processing involves much more than making a vehicle look attractive. Buyers need clear photographs that help them understand its appearance and condition. Accurate paint colors, realistic reflections, clean backgrounds, and properly presented details all contribute to that experience.
For dealerships, vehicle resellers, and automotive businesses processing large inventories, outsourcing detailed editing can reduce the pressure on internal photography teams. A professional retouching partner can handle repetitive background work, color correction, reflection cleanup, and image preparation while following consistent production guidelines.
Looking for Professional Automotive Photo Retouching?
PicsRetouch provides automotive image retouching services for dealerships, vehicle resellers, and automotive businesses. Our team works on background removal, vehicle color correction, reflection cleanup, exposure balancing, and detailed image refinement.
Whether you're preparing a small vehicle collection or processing images for a large inventory, share a few sample photographs with us. Request a free sample edit to evaluate the quality and discuss a workflow that suits your image volume, turnaround requirements, and listing standards.