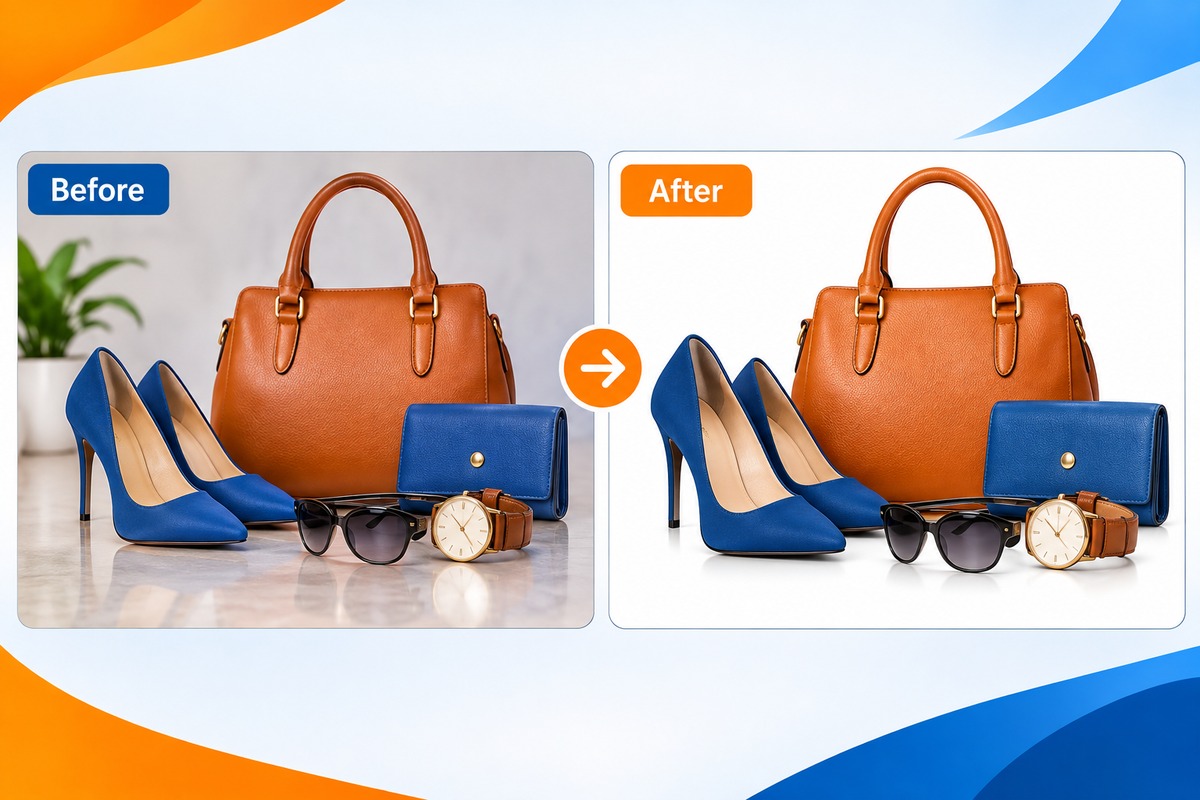
Clipping Path Workflow for Complex Multi-Item Products
Ansu Man | Nov. 18, 2026 | Categories: Clipping Path | 0 comments
Removing a background from a product photograph sounds straightforward until several objects appear in the same frame. Consider a jewelry set containing necklaces, earrings, rings, and decorative chains. Some pieces overlap, others have tiny openings, and certain components need separate color adjustments. Tracing one outline around the entire arrangement might isolate the group, but it won't give an editor enough control to reposition or modify individual items.
This is a common challenge for e-commerce businesses, product photographers, and catalog production teams. Complex product compositions require more than basic background removal. They need a carefully planned clipping path workflow that accounts for individual objects, overlapping edges, internal gaps, and separately editable components.
1. Analyze the Image Before Creating Paths
Starting the path immediately can lead to unnecessary work, especially when several products share similar colors or overlap extensively. The first step should be understanding how the objects are arranged and what the final image needs to achieve.
Identify each product, its visible boundaries, internal openings, and areas where another object crosses its outline. For example, a photograph of a furniture set might contain a table, four chairs, and decorative accessories. Each item may need an independent path if the client wants to separate the products later.
Also establish the intended output. Is the objective to remove the entire background, isolate every product, or create editable paths for individual components? These requirements determine the number and structure of paths needed.
2. Separate Individual Products with Multiple Paths
A common mistake in group product photography is creating one large clipping path around the complete arrangement. This works when the entire group must remain together, but becomes restrictive when individual products need separate editing.
Instead, create independent paths around each visible object. A photograph containing several handbags, for instance, may require a separate path for every bag, including its handles and straps. This makes it possible to reposition products, adjust their shadows, or prepare individual catalog images without repeating the original selection work.
Pay particular attention to overlapping objects. Where one product partially covers another, follow the visible boundary rather than drawing an imaginary outline through the hidden section. The path structure should reflect the actual composition and intended editing requirements.
3. Handle Internal Gaps and Compound Shapes
Complex products often contain openings that are just as important as their outer contours. Bicycle frames, chair backs, jewelry chains, wire baskets, and decorative metal products are good examples. If these internal spaces aren't addressed, remnants of the original background can remain between product components.
Use compound paths or separate subpaths to define both the outer boundary and the internal openings. A bicycle, for example, needs careful treatment around its frame, spokes, chain, and spaces between the wheels. Similarly, a necklace requires attention to individual links and the gaps between them.
At high magnification, inspect these openings for leftover background pixels. Missing or incorrectly defined internal areas can become particularly noticeable when the product is placed against a contrasting background.
4. Manage Overlapping Components and Layer Order
Overlapping objects require careful attention because their visible edges can become difficult to distinguish. A group of bracelets, tangled cables, or layered accessories may contain several crossing elements, each with its own contour.
Map the visible components before tracing. Work from the foreground objects towards the background where appropriate, checking which edges belong to which product. Keep separate paths for objects that need independent manipulation.
Don't create unnecessary outlines around portions that are completely hidden. Concentrate on visible boundaries and the areas needed for the intended output. This keeps the path structure manageable without sacrificing accuracy.
5. Create Separate Paths for Selective Editing
Sometimes the client needs more than background removal. Different parts of the same product may require individual color correction, brightness adjustments, or selective retouching.
Consider a pair of shoes containing a leather upper, rubber sole, fabric laces, and metal eyelets. A single outer clipping path can isolate the shoe, but separate component paths provide much greater editing flexibility.
The same approach works for jewelry with different metal finishes, furniture combining wood and upholstery, and machinery containing multiple materials. Each component can be adjusted without unnecessarily affecting the surrounding areas.
6. Refine Difficult Edges and Preserve Fine Details
Even a correctly planned path can produce a poor cutout if its edges aren't refined. Jagged curves, excessive anchor points, uneven corners, and tiny background fringes become obvious when product images are enlarged.
Use smooth curves with carefully positioned anchor points rather than placing too many points along every contour. Inspect narrow gaps, rounded edges, delicate chains, and small protrusions at 100% to 200% magnification.
It's also important to recognize where a clipping path isn't the right technique. Fine hair, fur, transparent glass, and semi-transparent materials may require image masking or alpha-channel refinement to preserve their natural appearance. Forcing every detail into a hard-edged path can produce visibly artificial results.
7. Perform Final Quality Checks and Prepare Deliverables
Before delivery, inspect each product individually and then review the complete composition. Check for missing sections, unwanted background pixels, damaged edges, and incorrectly separated objects. Test the cutouts against both light and dark backgrounds where possible.
Confirm that the number of paths matches the agreed requirements. Path naming, layer organization, image dimensions, and file formats should follow the client's specifications. Some retail workflows require one precise clipping path, while multi-item editing projects may need several independently editable paths. The delivery structure should be agreed upon before production begins.
Make Complex Product Editing Easier to Manage
Complex, multi-item product photography requires careful planning before the actual background removal begins. The difference between an ordinary cutout and a production-ready image often comes down to how accurately individual objects, internal openings, and overlapping components are handled.
For businesses managing large product catalogs, professional clipping path services can reduce repetitive editing work while providing greater control over individual products. An experienced retouching team can also adapt the path structure to different catalog and marketplace requirements.
Need Help with Complex Clipping Path Projects?
PicsRetouch provides professional clipping path services for e-commerce businesses, photographers, jewelry brands, and product manufacturers. Our team handles complex product outlines, multiple object separation, compound paths, and individual component isolation with careful attention to edge accuracy.
Have a challenging product image or a large catalog to process? Share a few sample photographs and your editing requirements. Request a free sample edit to evaluate our work before moving forward with your project.